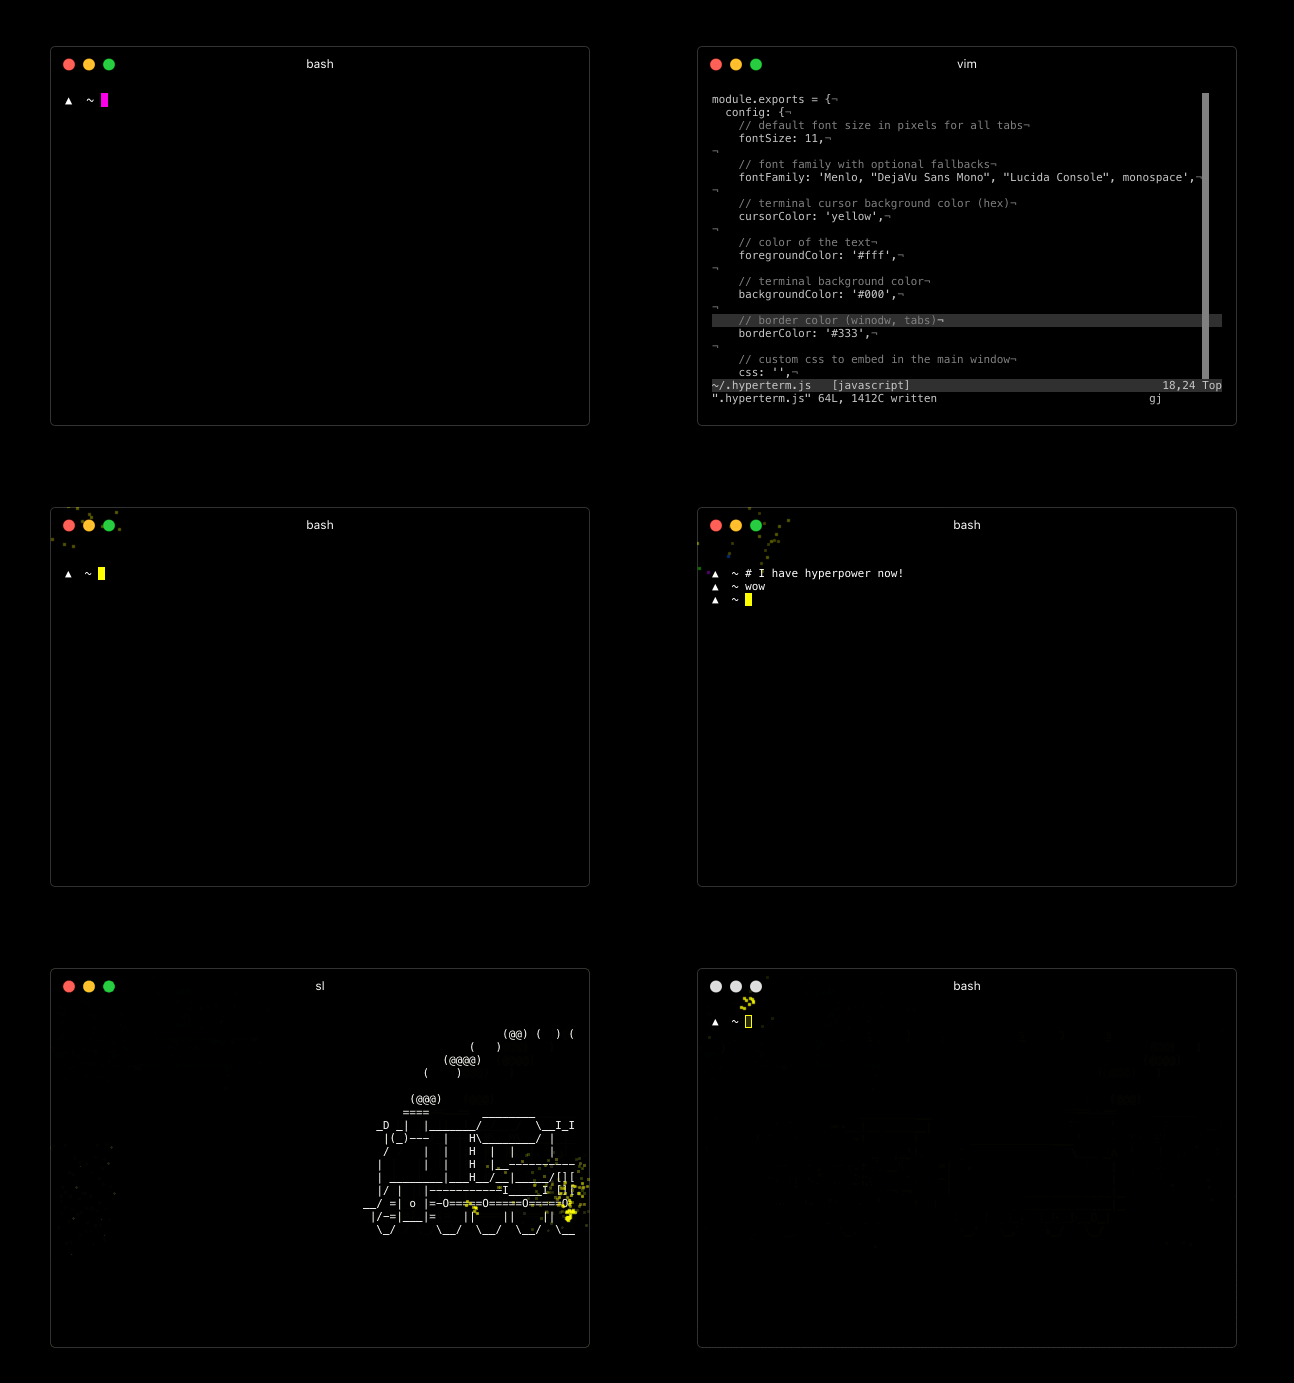
아마도 많은 사람들이 알고 있을 거라고 생각합니다. outsider 같은 분도 이미 트윗이나 페북으로 이야기한 바로 그 프로젝트 hyperterm입니다.
2016/07/15 Best Project
 출처 : https://github.com/zeit/hyperterm
zeit/hyperterm
_Contribute to hyperterm development by creating an account on GitHub._github.com
설치
electron 기반의 프로그램이라 그냥 zip파일을 해당 웹 프로젝트에서 다운 받으시면 됩니다.
HyperTerm
_HyperTerm: HTML/JS/CSS terminal_hyperterm.org
프로젝트 페이지를 방문 하시면 바로 링크가 있습니다.
실행
OSX환경에서는 그냥 zip 파일을 풀면 실행파일을 실행할 수 있습니다.
어떻게 가능한 걸까?
electron 기반의 application 이니까. package.json파일을 살펴 보겠습니다.
"dependencies": {
"child\_pty": "3.0.1",
"convert-css-color-name-to-hex": "0.1.1",
"default-shell": "1.0.1",
"electron-config": "0.2.0",
"electron-is-dev": "0.1.1",
"gaze": "1.1.0",
"mkdirp": "0.5.1",
"ms": "0.7.1",
"uid2": "0.0.3" },
다른 dependency도 눈여겨 봐야겠지만, 제눈에 띄는 거는 child_pty라는 모듈이네요
Gottox/child_pty
_child_pty - a modern node.js module for interacting with pseudo terminals._github.com
pseudo 터미날과 인터렉션 할 수 있는 node 모듈이child_pty가 기본 터미날의 출발이 될 거 같습니다.
shama/gaze
_gaze - :crystal_ball: A globbing fs.watch wrapper built from the best parts of other fine watch libs._github.com
이 gaze라는 모듈은 OS파일의 변화를 감지하는 모듈입니다.
sindresorhus/default-shell
_default-shell - Get the user’s default shell_github.com
사용자의 default shell을 얻어 오는 모듈입니다.
정확하게 제가 셋팅한 zsh를 가져옵니다.
zeit/hyperterm
_Contribute to hyperterm development by creating an account on GitHub._github.com
소스코드를 따라가면 React로 짜져 있음을 알 수 있습니다.
진입점인 index.js는 redux를 이용해 Action에 따른 여러가지 바인딩을 한 소스들로 대부분이 이루어져 있습니다.
주로 Action은 uiAction, updaterAction, sessionAction세가지 정도로 이루어져 있습니다.
zeit/hyperterm
_Contribute to hyperterm development by creating an account on GitHub._github.com
terminal 클라이언트는 chromium의 hterm-umd를 이용하고 있습니다.
hterm - apps/libapps - Git at Google
_hterm is a JS library that provides a terminal emulator. It is reasonably fast, reasonably correct, and reasonably…_chromium.googlesource.com
구슬이 서말인데 꿰니 보배라는 내용에 딱 어울리는 멋진 프로젝트네요.
이런 인사이트를 더 얻을 수 있으면 좋겠다는 생각이 많이 듭니다.
WEB-IDE를 만들 때도 참조하면 좋을 거 같네요.
By Keen Dev on July 16, 2016.
Exported from Medium on May 31, 2017.


